Altcoin Exit Strategy That Actually Works in 2026
Build an altcoin exit strategy that beats emotion and thin liquidity. Decision rules, scaling templates, on-chain signals, and Solana meme coin examples.
Published
Updated
Forget the standard advice to set a stop loss, pick a moon target, and wait. That advice fails on Solana meme coins because it assumes you can get filled near the price on your screen. You often can't. A chart can print green candles while the pool underneath it thins to nothing, and your market sell becomes the dump. A working Altcoin Exit Strategy starts with liquidity and behavior, then adds price targets. You're not planning an exit price. You're planning an exit route, in tranches, while there's still someone on the other side to buy.
Table of Contents
- Why Most Altcoin Exits Fail Before They Start
- The Four-Pillar Exit Framework for Altcoin Traders
- Position Sizing and Scaling Out With Worked Numbers
- Reading MemeAssist Reports for Exit Signals
- Two Solana Meme Coin Exit Walkthroughs
- The Pre-Trade and Live-Trade Checklist
- Altcoin Exit Strategy Questions Traders Actually Ask
Why Most Altcoin Exits Fail Before They Start
Most traders write an entry thesis in detail and an exit plan in one line. "Sell at 10x" isn't a plan. It's a wish with no path to a fill. When the move comes, you're negotiating with yourself in real time, moving the target up on green candles and moving the stop down on red ones.
That timing problem is well documented. The Bank for International Settlements study of crypto exchange app adoption across 95 countries from 2015 through 2022 found that downloads and active use rose when Bitcoin prices rose, and it estimated that approximately 73% to 81% of retail investors likely lost money on their initial Bitcoin investment. Altcoins punish late entry harder, with thinner liquidity and sharper reversals. If you're buying into enthusiasm, earlier holders are your exit liquidity problem in reverse. They're already positioned to sell to you.
The Three Failure Modes
- Targets without a fill path: You pick 2x and 5x levels but never check whether the pool can absorb your tranche at those prices.
- Stops that get hunted: A tight stop in a shallow pool triggers on a single wick, sells you into slippage, and watches price recover without you.
- Decisions deferred to the worst moment: "I'll decide later" means deciding during a parabolic top or a vertical dump, exactly when your judgment is worst.
Liquidity is where this gets brutal. Research covering January 2024 to March 2025 found that only about 97,000 of more than 7 million Pump.fun tokens maintained liquidity above $1,000, while roughly 93% of 388,000 Raydium pools showed soft rug pull characteristics. Read that again before you trust a quoted price. Being right on direction doesn't matter if selling overwhelms the pool.
That's also why so many tokens collapse right after they look strongest, a pattern covered in why Solana memecoins dump after graduation. The exit window is often the graduation pop itself, not the days after it.
If you can't describe how you'll get out in tranches, at what pool depth, and on what invalidation, you don't have an exit strategy. You have a holding strategy.
The fix has four parts. You need profit targets, an invalidation level, a time stop, and a liquidity trigger. Set all four before you buy. Anything less leaves one failure mode wide open.
The Four-Pillar Exit Framework for Altcoin Traders
Write these four numbers down before entry. If you can't fill in all four, skip the trade. That single rule will save you more money than any indicator.
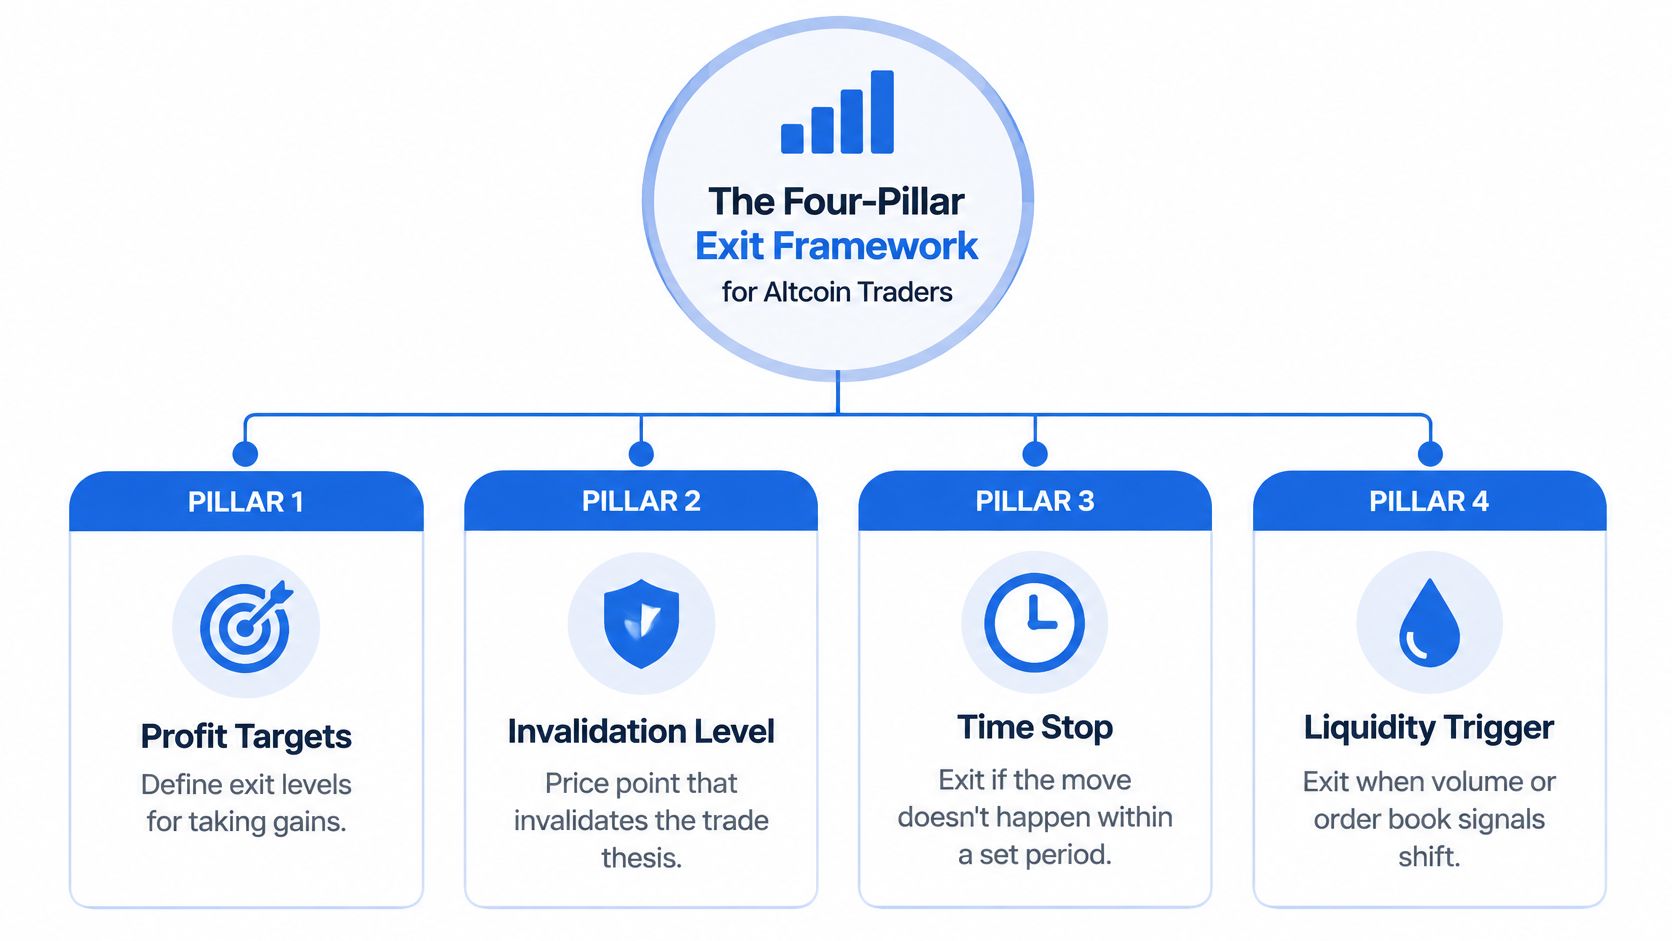
Pillar 1 Profit Targets in Tranches
Use a three tranche default. Sell a partial at 2x, sell another partial at 5x, and trail what's left. You're not hunting one perfect top, because nobody rings a bell up there. You're converting paper gains into SOL while bids still exist, and you're keeping a runner so a real move doesn't leave you sidelined and tilted.
Size the first tranche to matter. Selling a tiny slice at 2x feels disciplined but doesn't de risk anything. My default is to make the first two tranches large enough that, combined, they return your original capital with room to spare. After that, the runner is house money and you'll manage it calmly instead of clutching it.
Pillar 2 Invalidation Means Thesis Broken
Invalidation isn't "price went down and I'm scared." It's a specific signal that your reason for entering is dead. That might be a price level closing below your entry structure, the creator wallet selling, or a bundle flag appearing where there wasn't one. Pick the signal in advance and tie it to something observable on chain or on the chart.
Once it fires, you leave. You don't move it lower because the Telegram still sounds bullish. Moving invalidation mid trade is just refusing to record a loss, and the market will record a bigger one for you.
Pillar 3 The Time Stop Nobody Uses
Meme coins that don't move usually don't move later. They bleed. Set a 7 to 14 day window for swing entries, and much less for intraday momentum plays. If the thesis hasn't paid by then, your capital is trapped in a flat token while new setups pass you by.
The time stop also kills the most expensive sentence in trading, "it's about to go." Maybe it is. Your plan said you'd know by now, and you don't. Exit, or at minimum cut the position down to a size you'd forget about.
Pillar 4 The Liquidity Trigger
This is the pillar that separates a real Altcoin Exit Strategy from price target folklore. Define a floor for pool liquidity and recent volume. If depth drops past it, or holder concentration spikes while volume fades, you review immediately and usually exit, even if the chart still looks fine. Charts lag pools. By the time price confirms the problem, the bids you needed are gone.
Practical rule: Test your exit before you need it. Quote your full position size as a sell and look at the price impact. If that number horrifies you now, it will be worse during a dump.
| Pillar | Default trigger | Override condition |
|---|---|---|
| Profit Targets | Partial at 2x, partial at 5x, trail the rest | Liquidity trigger fires first, sell into available depth |
| Invalidation Level | Thesis signal breaks, price or on chain | None mid trade, reassess only after exiting |
| Time Stop | 7 to 14 days with no follow through | Fresh catalyst with rising volume, reset once only |
| Liquidity Trigger | Pool depth or volume falls below your floor | None, exit in tranches while bids remain |
Screenshot that table. Tape it next to your monitor. Every exit you'll ever take on a meme coin is one of those four rows firing.
Position Sizing and Scaling Out With Worked Numbers
Sizing comes before entry, not after you're already in and doing math under stress. The rule is simple. Never risk more than 1% to 2% of your trading bank on a single meme coin entry, and define your invalidation distance first so the position size falls out mechanically.
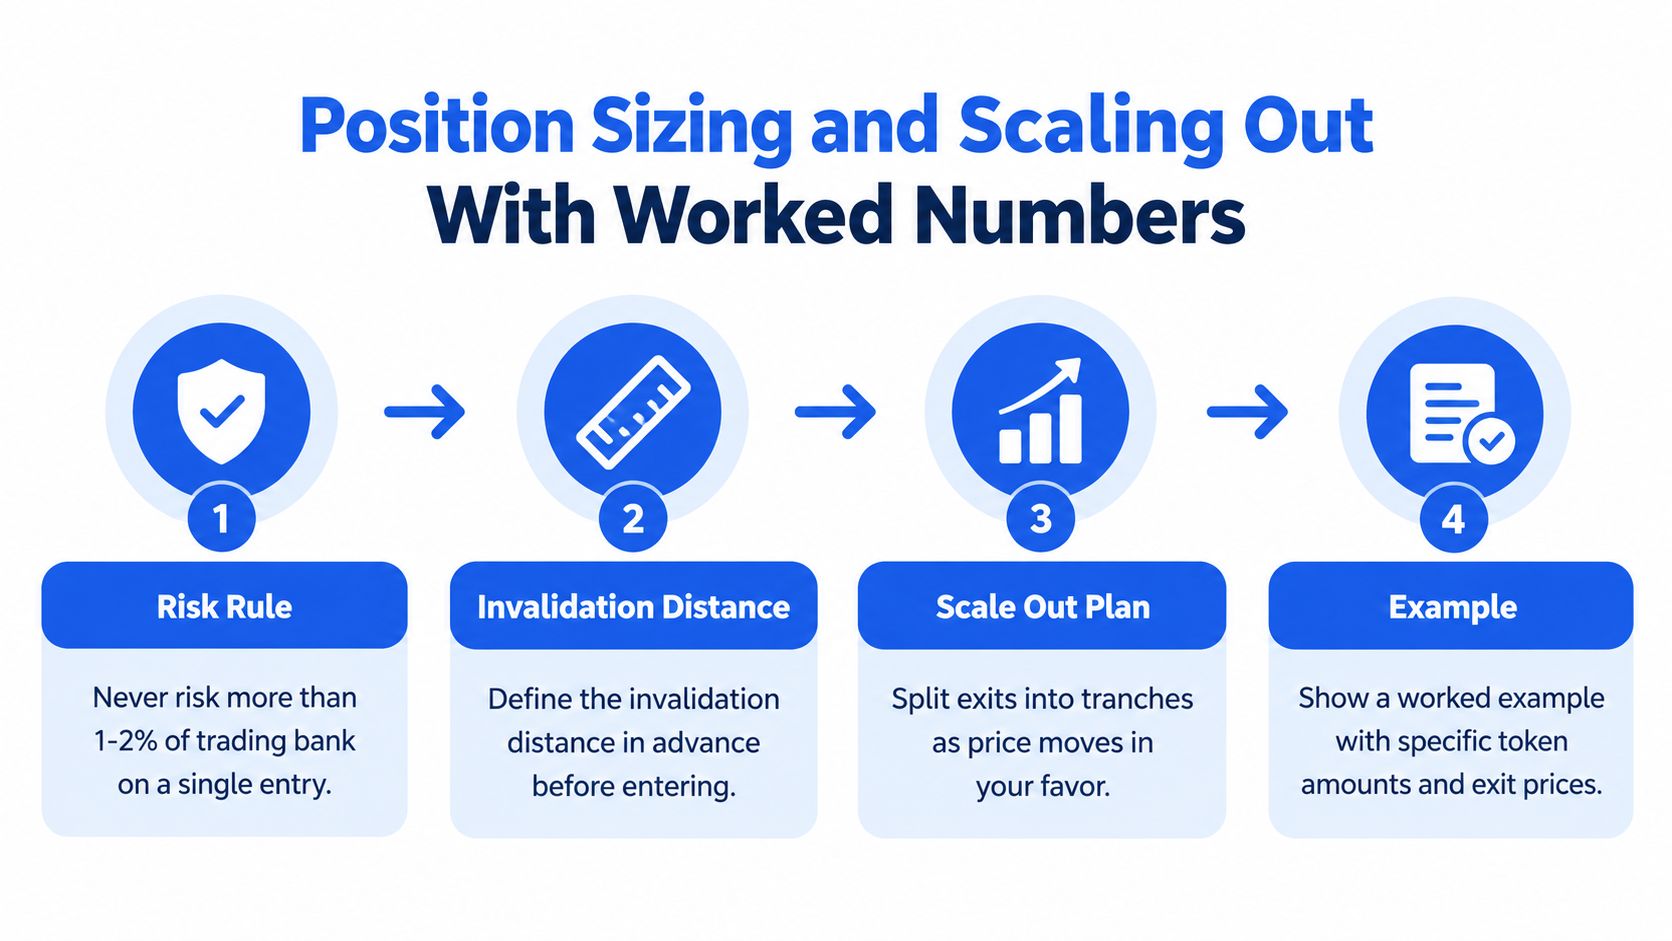
Say your bank is 50 SOL and you'll risk 1%, so 0.5 SOL is your maximum loss if invalidation hits. If invalidation sits roughly halfway below entry in value terms, a 1 SOL position risks about that 0.5 SOL. That arithmetic, done cold, stops you from apeing 5 SOL into a token you found ninety seconds ago.
Worked Example at 0.5 SOL
You enter with 0.5 SOL. Your ladder, written before entry, looks like this.
- At 2x: Sell enough to recover roughly half your stake. Your position is now worth about 1 SOL on paper, so selling a quarter of your tokens banks around 0.25 SOL.
- At 5x: Sell another chunk, around a third of what remains. Combined with the first tranche, your original 0.5 SOL is now back in your wallet.
- Runner: Trail the rest against a moving average or a fixed giveback from the high. If it dies, it dies with house money.
On small positions, watch the friction. Tiny tranches get eaten by fees and rounding, so scale out by token count in round lots rather than shaving awkward percentages. Two or three clean tranches beat six fiddly ones you'll never execute properly.
Worked Example at 5 SOL
The 5 SOL position uses the same ladder, but execution changes. You can't market sell tranches that size into a thin pool without moving it against yourself. Split each tranche again, sell into green candles and volume spikes, and quote price impact before every clip.
Add one more move at this size, the capital withdrawal. Once the position has returned around 3x, pull the original 5 SOL out entirely, even if that means selling slightly ahead of your second target. From there you're trading profit, and every decision gets easier because the worst case is a smaller win, not a loss.
Scaling out is planned and boring. Panic selling is unplanned and expensive. They look similar on a chart and feel completely different in your wallet.
Place limit orders where your venue supports them, and set alerts where it doesn't. If your exit requires you to be awake, calm, and fast at 3 a.m., it isn't an exit plan. Build the order list at entry, while you're still the rational version of yourself, and let that version make the decisions.
Reading MemeAssist Reports for Exit Signals
A report only helps if each output maps to an action. "Do your research" is not an action. Here's how I translate a MemeAssist report into the four pillars, line by line, using its live on chain checks across liquidity, holder distribution, creator behavior, wallet activity, trading patterns, and historical risk indicators.
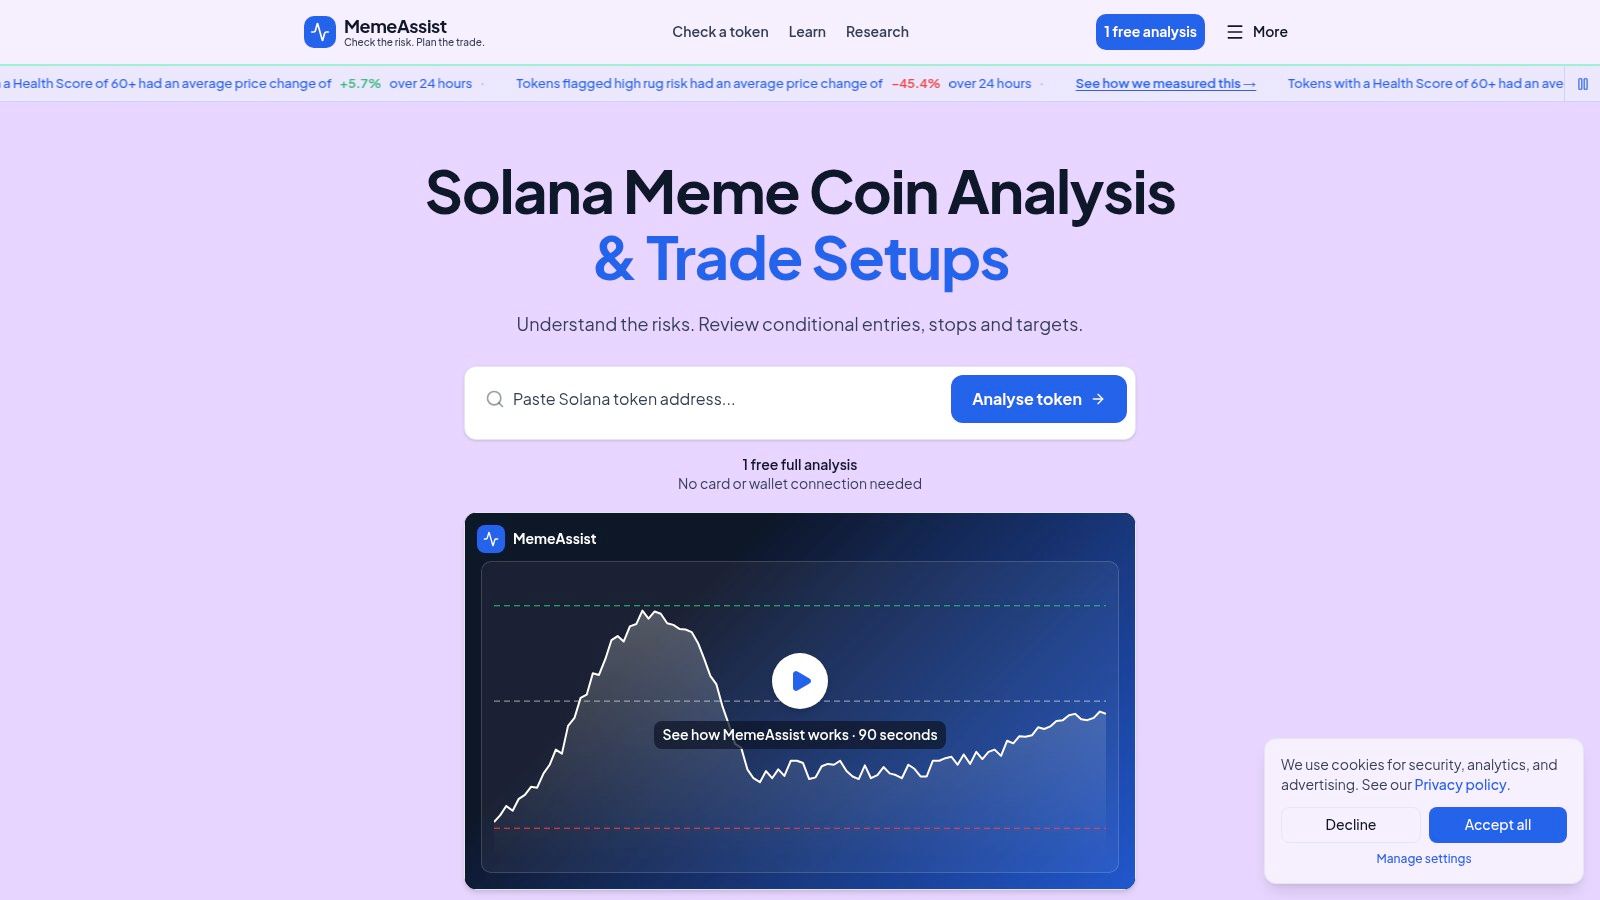
Health Score and Rug Risk as Gatekeepers
Treat the Overall Health Score as a position size multiplier before entry. A strong score earns your normal size. A middling score earns half size or a pass. Mid trade, treat a falling score as a scale out accelerator. If the score deteriorates while price is flat, take your next tranche early instead of waiting for 5x that may never print.
The Rug Risk Rating is binary at the extremes, and you should keep it that way. High rug risk means no entry, not "small size for fun." Small size on a likely rug is still a planned donation. If rug risk jumps after you're in, that's your liquidity trigger and your invalidation firing together. Exit in tranches immediately, starting with whatever depth is available.
AI Verdict and the Detailed Breakdown
Read the AI Verdict for causal language, not vibes. Phrases like liquidity concentrated in one wallet, creator wallet funded by a known bundler, or volume diverging from price each map to a pillar. Concentration warnings feed your liquidity trigger. Creator behavior feeds invalidation. Volume divergence tells you to pull profit targets closer.
The Detailed Risk Breakdown is your mid trade dashboard. Watch holder concentration, liquidity depth, and trading pattern flags including bundle detection and insider wallets. This is also how you spot distribution early, which is why it pairs well with checking whether whales are actually selling and how to tell before you assume a dip is just a dip.
The Trade Setup block is a pre trade checklist. Import its targets and invalidation context straight into your written plan instead of inventing your own numbers from hope. If the setup and your four pillars disagree, reconcile them before entry or don't enter.
One Change That Flips the Decision
Here's a micro example. You hold a runner after taking profit at 2x. You rerun the report and a top holder cluster that sat at 8% of supply now sits at 22%, for example after wallets consolidate. Price hasn't moved. Your plan still flips, from hold the runner to sell the next bounce, because concentration at that level means one wallet's exit becomes your exit price.
That flip is the whole point of rerunning reports on a schedule rather than once at entry. On chain conditions change faster than charts admit. The report is computed from live data at run time, so a fresh run during a fast move tells you whether the ground under your position is still there. Use it after every material move, up or down, and let deteriorating evidence override a pretty candle every single time.
Two Solana Meme Coin Exit Walkthroughs
Two trades, same framework, opposite endings. One rewards patience, the other rewards speed, and the deciding variable is liquidity, not conviction.
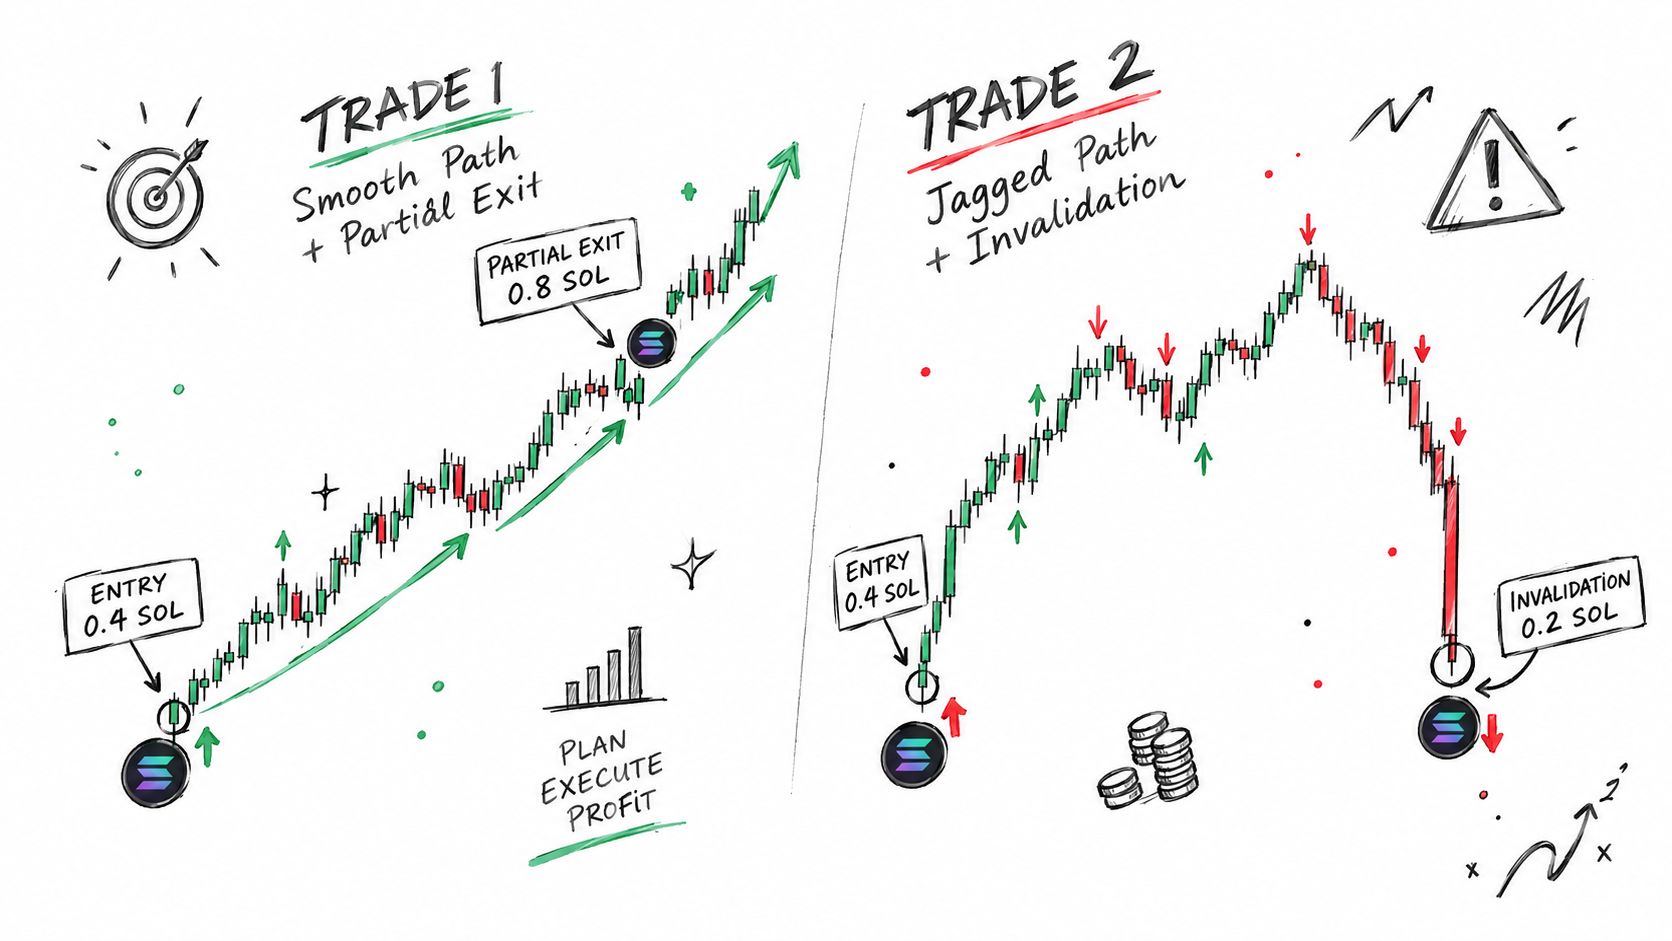
Trade A the Clean Runner
You enter 0.8 SOL after a report shows acceptable rug risk, distributed holders, and real pool depth. Your written plan says partial at 2x, partial at 5x, trail the rest, invalidation on a creator sell or a close below entry structure.
The first push carries price to 2x on rising volume. Pillar 1 fires. You sell the first tranche into that strength with limit orders, not a market dump. Hours later a second leg reaches 5x with volume confirming. Tranche two sells. Your original SOL is home and the runner costs you nothing.
The runner trails a short term moving average. Then a scheduled rerun flags volume diverging from price while the Health Score softens. Price sits near highs, but your liquidity review says the easy part is over. You tighten the trail, get stopped on the next dip, and close flat and satisfied. No heroics, no round trip.
Trade B the Emergency Liquidity Exit
Different token, faster tape. Price rips 4x in an hour and the group chat is screaming for 10x. Your scheduled rerun shows pool liquidity dropping, top holder concentration spiking, and a fresh bundle detection flag. The chart looks incredible. The exit route is collapsing.
This is the hour traders freeze. They stare at the 4x on screen, anchor to it, and wait for one more candle that never comes. Your written pillars exist precisely so this hour doesn't negotiate with you: the plan already said a bundle flag plus falling pool depth means sell at realizable value, not at the quoted 4x.
Learn the mechanics of a fast exit before markets move like this, not during.
Pillar 4 fires. You sell a large tranche immediately at around 2x realizable value after impact, ignoring the paper 4x. You quote each clip, split the remainder, and finish exiting on the first wick down once liquidity crosses your floor. Traders who waited for that extra candle discovered the quoted price and the fillable price had divorced. You banked a solid, unspectacular win. They kept a screenshot.
Trade A paid patience because the evidence stayed clean. Trade B paid speed because the evidence rotted under a green candle. Same framework, opposite tempos. That is what pre written rules buy you: the decision was already made before the candle printed.
The Pre-Trade and Live-Trade Checklist
Your checklist is a liquidity contract you sign before the market can negotiate. Run it mechanically, especially when the setup feels obvious. That is when overconfidence starts changing numbers. Before committing size, run the token through the Solana exit liquidity checker and confirm the pool can carry your planned tranches, not just your entry.
Before You Click Buy
- Thesis in one sentence: You can explain why this token should move without using the word "vibes."
- Exit route defined: Your liquidity floor, tranche sizes, and first sell trigger are written before entry.
- Four pillars priced: Targets, invalidation, time stop, and liquidity floor are actual numbers.
- Risk contained: Your position loses no more than your stated bankroll limit if invalidation fills.
- Report signals aligned: Health Score, Rug Risk, AI Verdict, and Trade Setup support the same decision. If Rug Risk is high or the verdict contradicts the setup, pass. A smaller position does not fix bad evidence.
While the Position Is Live
- Reports rerun on schedule: Check after every material move, not only when the chart turns red.
- Liquidity reviewed first: Look at pool depth, volume, and holder concentration before profit targets.
- Deterioration has a rule: A weaker Health Score, worse Rug Risk, or shrinking exit capacity triggers the next tranche at realizable value.
- Planned tranches execute: Each target sells its allocation without another debate.
- Time stop honored: Flat by the deadline means out, even if the chart "looks ready."
The Traps That Override Good Rules
Early losses usually come from improvisation, and every override below is liquidity blindness dressed up as conviction.
- Moving the stop: Invalidation only moves in your favor, never farther from price.
- Averaging into a loser: Adds require stronger on-chain evidence, not a cheaper entry.
- Selling winners then chasing: After a planned exit, the token goes on cooldown for the day.
- Reentering higher from regret: A reentry needs a new setup, a fresh MemeAssist report, and a newly checked exit route.
Discipline is the edge. Prediction gets the attention, but the trader who refuses to improvise at the exact moment evidence breaks is the one who keeps the win.
Altcoin Exit Strategy Questions Traders Actually Ask
How Do I Adjust the Defaults for Ultra Low Cap Tokens
Below roughly 50K market cap in your own screening, tighten everything. Take the first tranche earlier, shrink tranche sizes relative to pool depth, and cut the time stop hard. At that size, your own sell is a market event, so the liquidity trigger outranks profit targets every time.
Price Hit 5x but the Verdict Still Reads Bullish
Sell the planned tranche anyway, then let the bullish evidence justify holding a larger runner with a tighter trail. The plan decides the tranche. Fresh evidence only decides what happens to what's left. Skipping a tranche because sentiment feels great is how 5x becomes breakeven.
How Do I Handle Taxes and Bookkeeping on Tranches
Track each tranche as its own disposal with date, amount, and proceeds, because that's how the record keeping will be read later. Keep wallet transaction IDs and report snapshots with your trade notes. This isn't tax advice, so confirm treatment in your jurisdiction, but clean per tranche records make any accountant's job possible instead of miserable.
How Do I Know the Pool Can Absorb My Tranche
Quote the sell without sending it. Check price impact for your tranche size against current pool depth and recent volume, right before execution. If impact looks ugly, split the tranche smaller and sell into incoming buy volume. Never discover slippage by experiencing it at full size.
Run every Solana meme coin through MemeAssist before you buy and again while you hold, and you'll get a live Health Score, Rug Risk Rating, AI Verdict, and Trade Setup you can wire straight into your four pillar exit plan. Your first full analysis is free and no wallet connection is required, so check your next token's liquidity, holder concentration, and creator behavior before your exit depends on them.